You are writing a lot, maybe several hours per day? Then you might want to add a personal touch to your text editor. Ulysses offers several options to do so. It is a little bit like creating a pleasing ambience in a room: One can select a vernal mint-green or a distinguished off-white for wall paint, arrange a Victorian suite of furniture or simply choose a desk from Ikea, place a flower bouquet for inspiration or keep it the most simple and distraction-free. And what else is a text editor but a room, your virtual writing room?
That’s why we assembled a 10-step-guide on how to customize Ulysses’ editor to your liking, to best spark creativity. We’re going to glance at all the screws you can turn, starting with step 1 to 4 in this post.
Should you actually prefer to leave everything like it is and start writing – please, go ahead. Defaults were set with care, intended to provide a clean, focused writing experience.
Ok, here we go.
Step 1: Editor-Only View
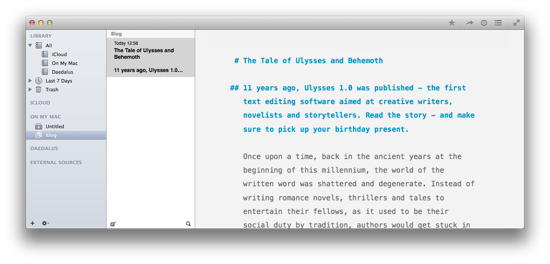
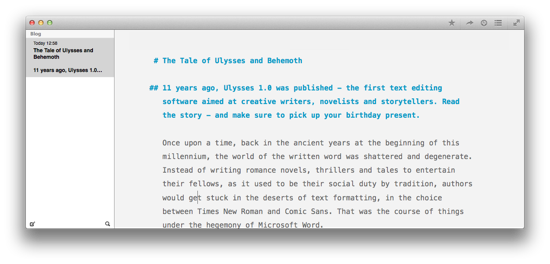
Ulysses comes with a handy three pane layout: the library with your folders and filters on the left, the sheet list in the middle, and the editor on the right. With 3 simple shortcuts you can easily hide the library and the sheet bar – and display them only when needed.
Step 2: Enter Full Screen
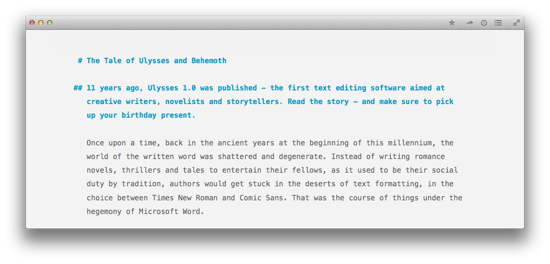
Do you want to block diversions and keep focused? Enter Full Screen. You can do so in the View Menu, by clicking the diverging-arrows symbol in the upper right corner, or by tapping ^⌘F.
Step 3: Find Your Preferred Mode
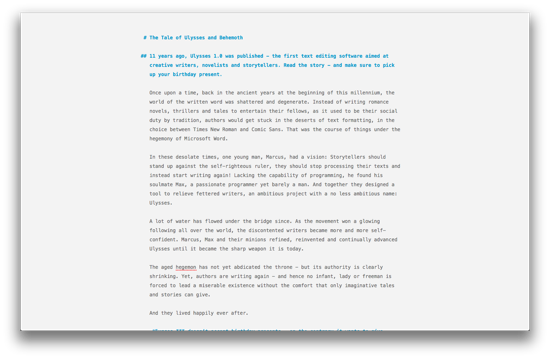
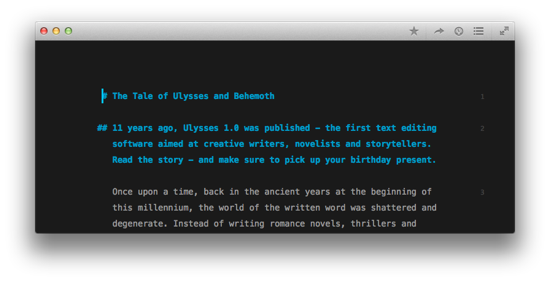
Do you prefer the proverbial plain white piece of paper? Or do you want your words to glow instead of the background? In Ulysses you can select between a light background theme with dark fonts, or a dark theme with bright fonts. Some writers find the dark mode more eye-friendly, especially in the evening hours. By default, Ulysses comes with a light theme and paged mode. As you might suspect, paged mode puts a more page-like frame around your text. For a less virtual appeal, so to speak. Find these options in the View menu.

Step 4: Select A Font
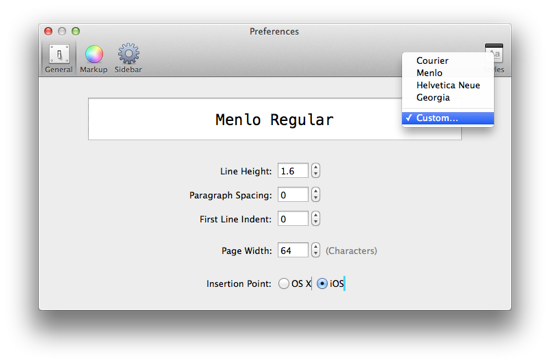
Ulysses’ default font is Menlo Regular. Menlo is a balanced, sans-serif Apple system typeface. As a monospace font, it produces an appealing, retro-ish typewriter look. But there are of course other beautiful fonts out there, and Ulysses allows you to pick the one you like best. In Preferences, you’ll find a handful of fonts carefully preselected by our designer. If you’re looking for something else, tap on Custom to browse your installed fonts.
Ok, these were easy, but there’s more to come: In the next post of this series we’ll have a look at the editor settings, the benefits of typewriter scrolling, and editor themes.