Ulysses’ keywords are versatile and can help you organize your writing. The 2.5 update has improved their handling on iOS, so now it is time for a close examination. Here is all you need to know to get the most of keywords on your iPhone or iPad.
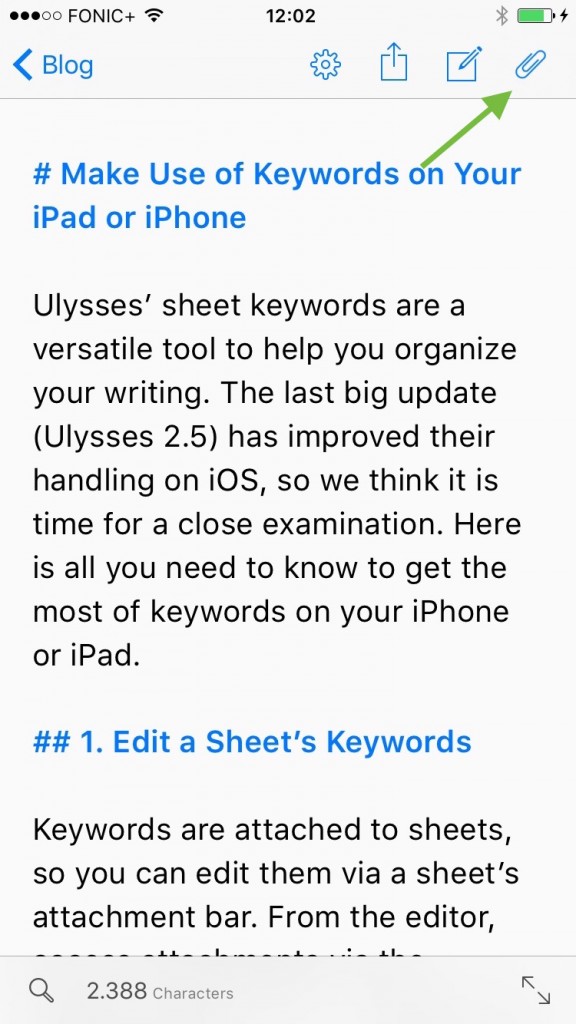
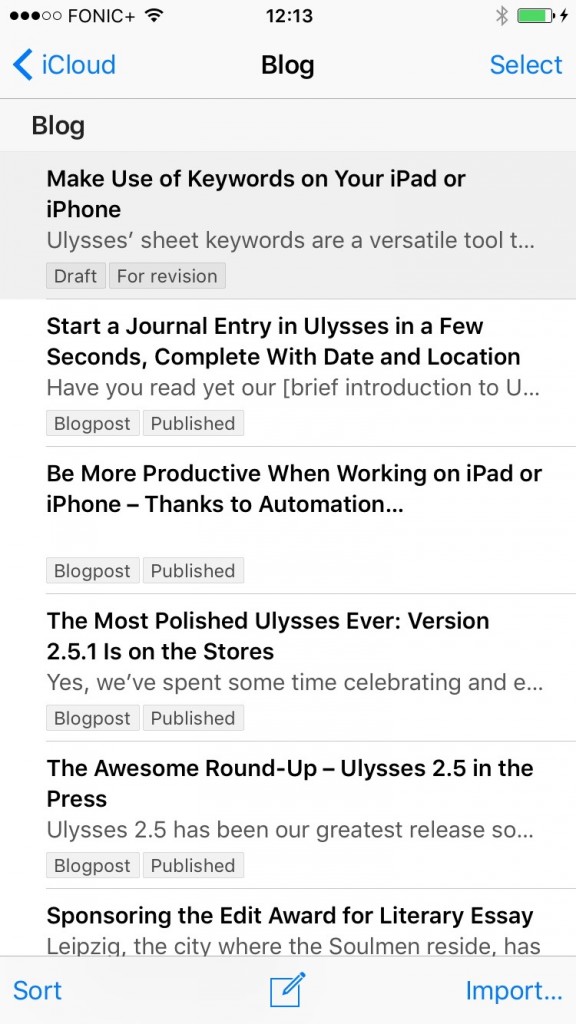
1. Edit a Sheet’s Keywords
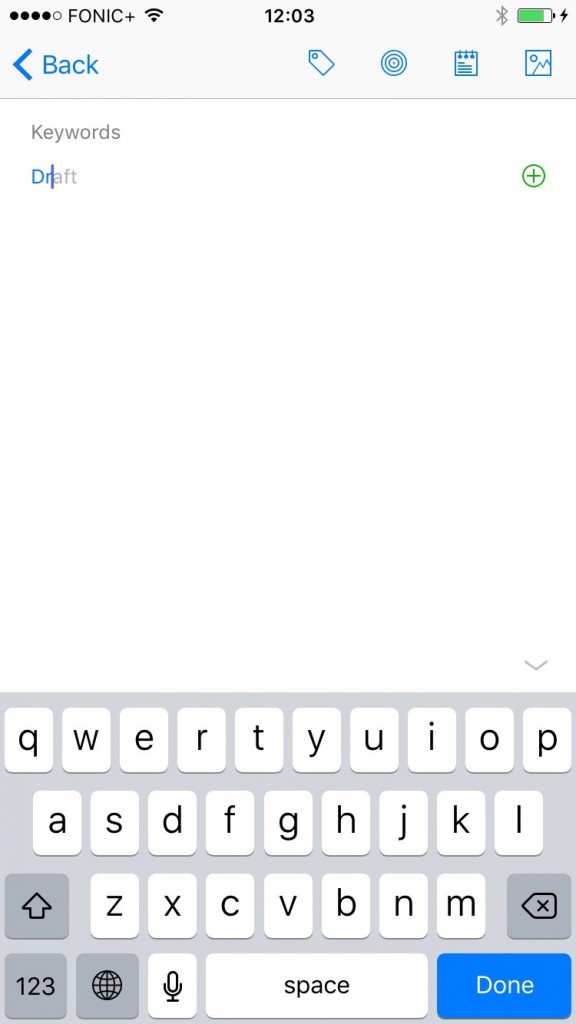
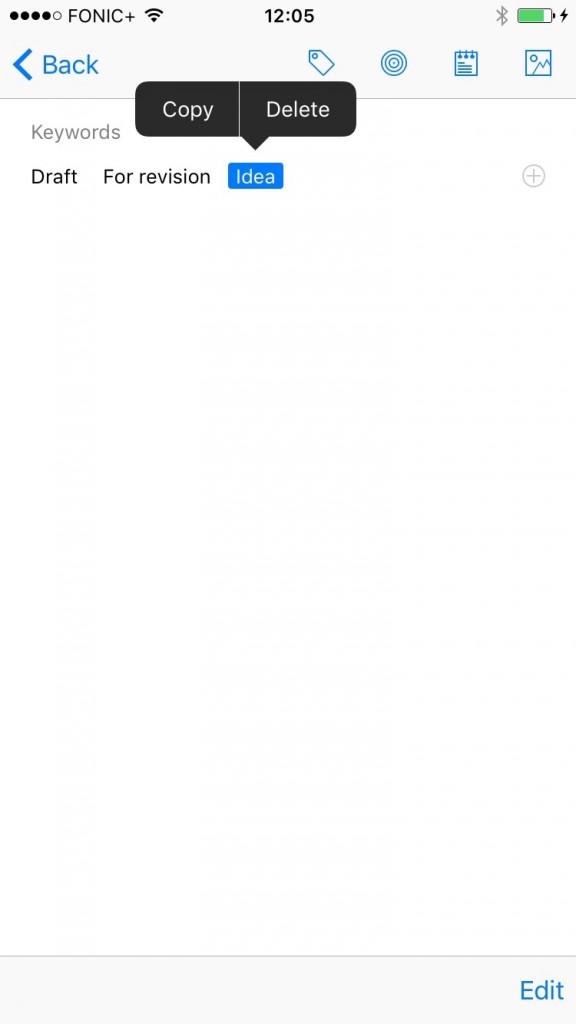
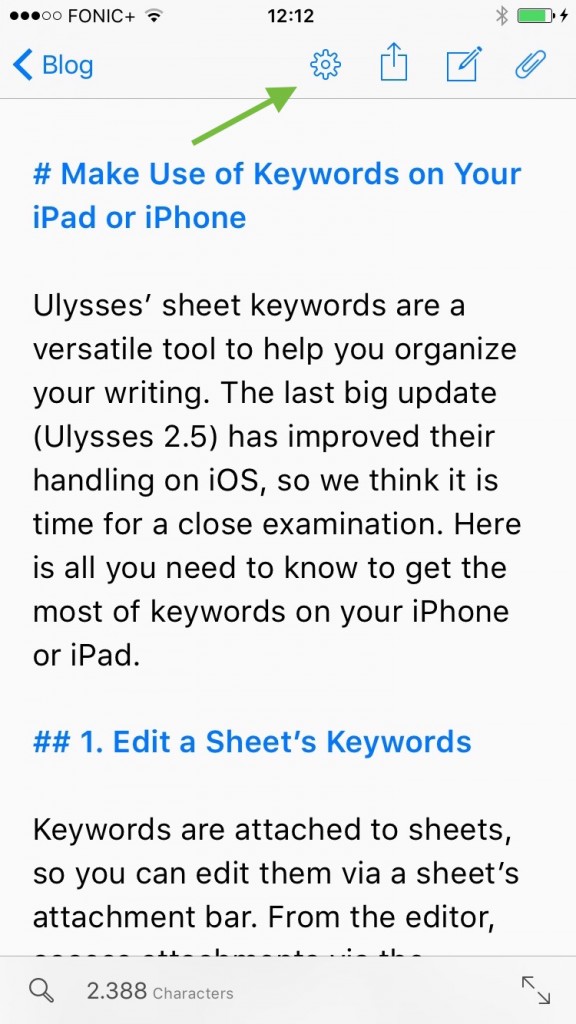
Keywords are attached to sheets, so you can edit them via a sheet’s attachment bar. From the editor, access attachments via the paperclip top right, or simply swipe from right to left. Now tap + to add a keyword. Note: A keyword can consist of more than one word, and you can attach an unlimited number of keywords. If you start typing, Ulysses will make suggestions for keywords you have previously used. To delete a keyword, select it and tap “Delete”.
You can also edit keywords from the sheet list: Simply swipe left on a sheet, tap “More” and then “Keywords…”
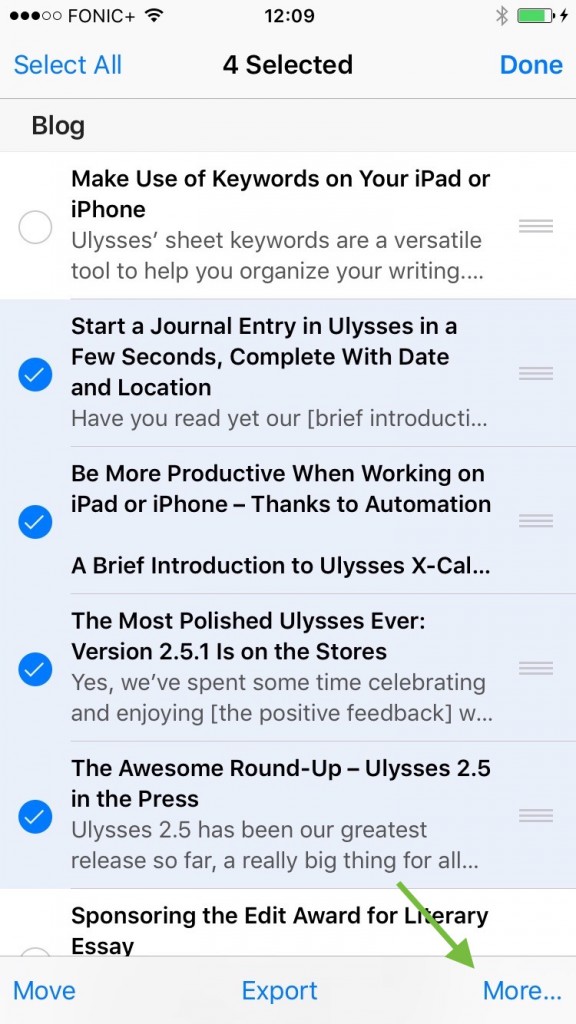
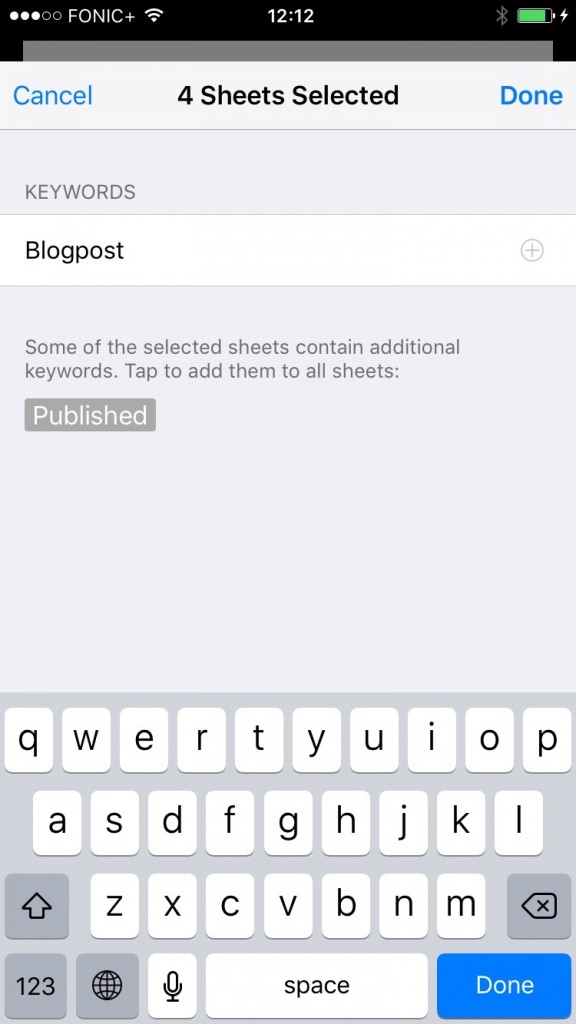
2. Keywords for Multiple Sheets
If you want to attach a keyword to more than one sheet, there is no need to touch each of them separately. Go to the sheet list, tap “Select” top right, tick the sheets in question, tap “More…” at the bottom, and finally “Keywords…”.
Now, if you add a keyword to the upper field, it will be attached to each of the selected sheets. What’s more, there’s a list of other keywords already attached to some of the sheets; you can simply tap to attach a keyword to the other sheets as well.
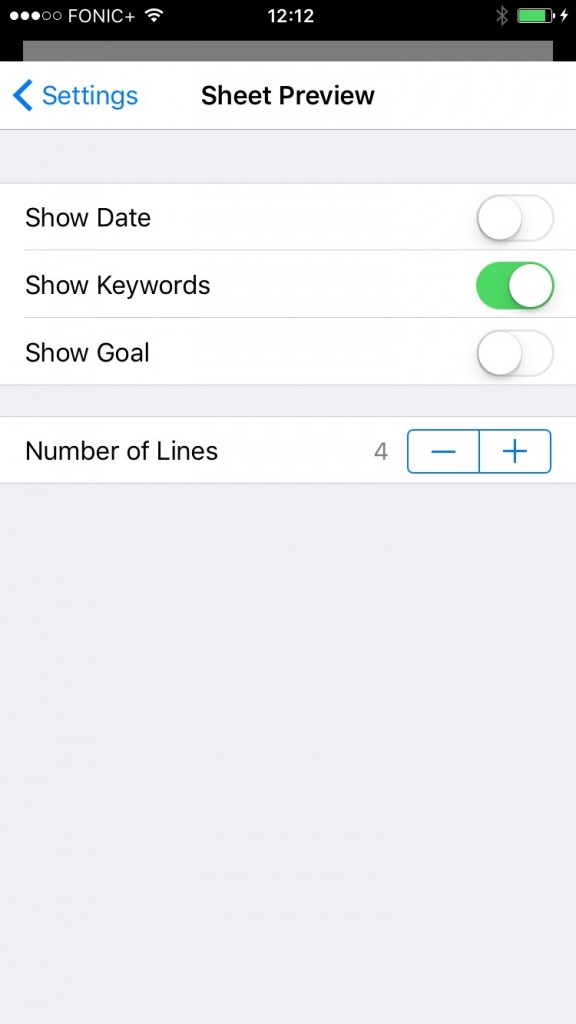
3. Show Keywords in the Sheet List
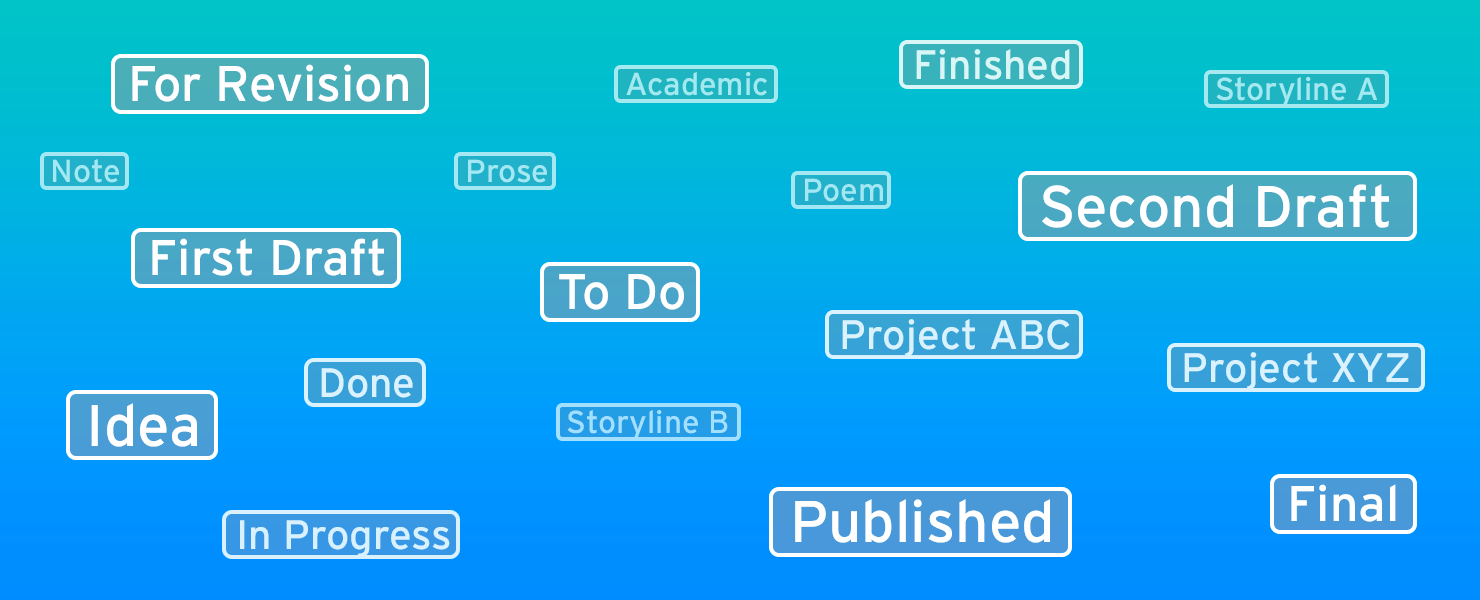
Now, if you – as an example – mark the progress of your sheets with keywords such as “Idea”, “Draft” and “Final”, you may want to see them at a glance. That’s why you can make them visible in your sheet list. You’ll find this option in the editor settings, under “Sheet Preview”.
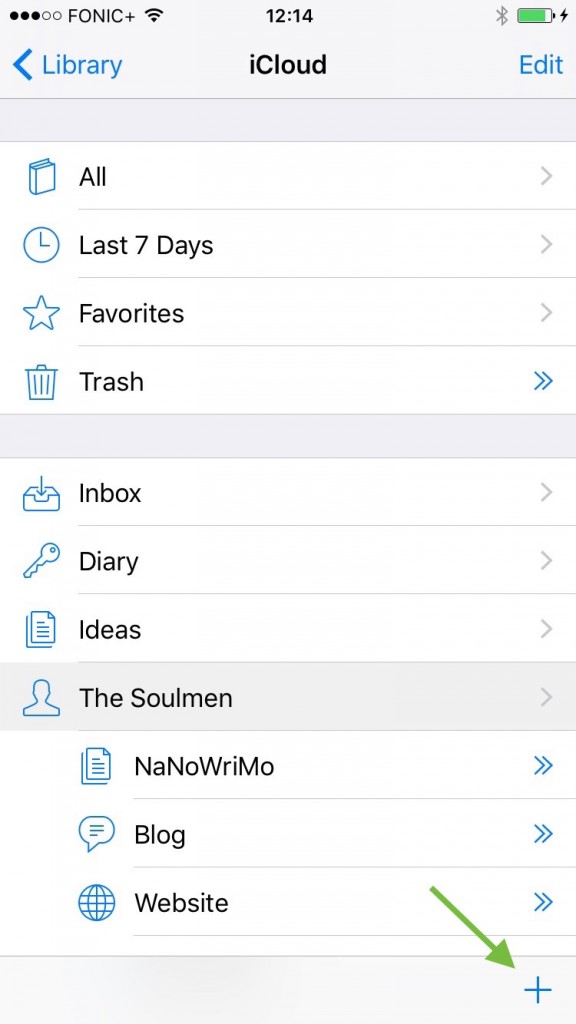
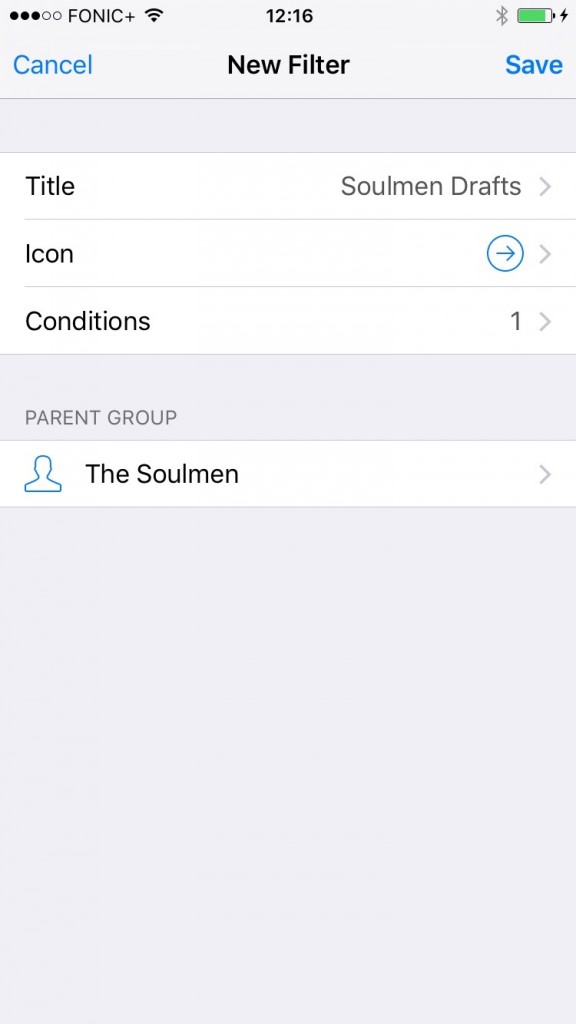
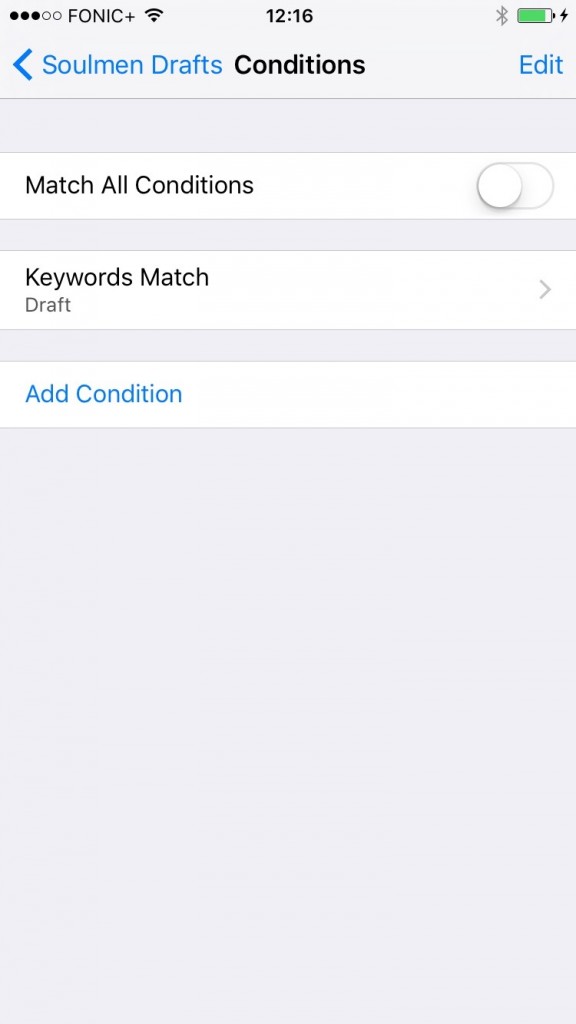
4. Filter for Keywords
Last but not least, you can filter your sheets according to their keywords. Creating a filter can be done in the library via the + bottom right. You can add “Keyword Match…” as a filter condition. As an example, the filter I created here will display all sheets with the keyword “Draft” contained in my “The Soulmen” group.