
At work with Ulysses I rarely hold presentations – we’re a small team, so it’s mostly easy to stay up-to-date with everyone’s projects without extensive meetings. For the rare occasions I need to prepare presentations, I happily rely on Deckset. I simply take down some bullet points in Ulysses and turn them into pretty slides with Deckset in a breeze. Deckset does the layout work for me, and I don’t have to fiddle around with Keynote or PowerPoint. It’s super fast and easy, especially if you’re familiar with Markdown (which you are, since you’re a Ulysses user).
Deckset turns Markdown files into presentations and works great with your favorite text editor – that is, of course, Ulysses! In the following tutorial, you’ll learn all you need to know to make both apps play together nicely. If you want, you can download Deckset’s trial version and a sample presentation for your first attempts.
Preparations
Deckset generates your presentation from a Markdown file. When you write your notes with Ulysses, you can of course use Quick Export to output them as a Markdown file. The more comfortable way, however, is to use Ulysses to edit an existing Markdown file, and point Deckset to it. That way, you can live preview your presentation. Proceed as follows:
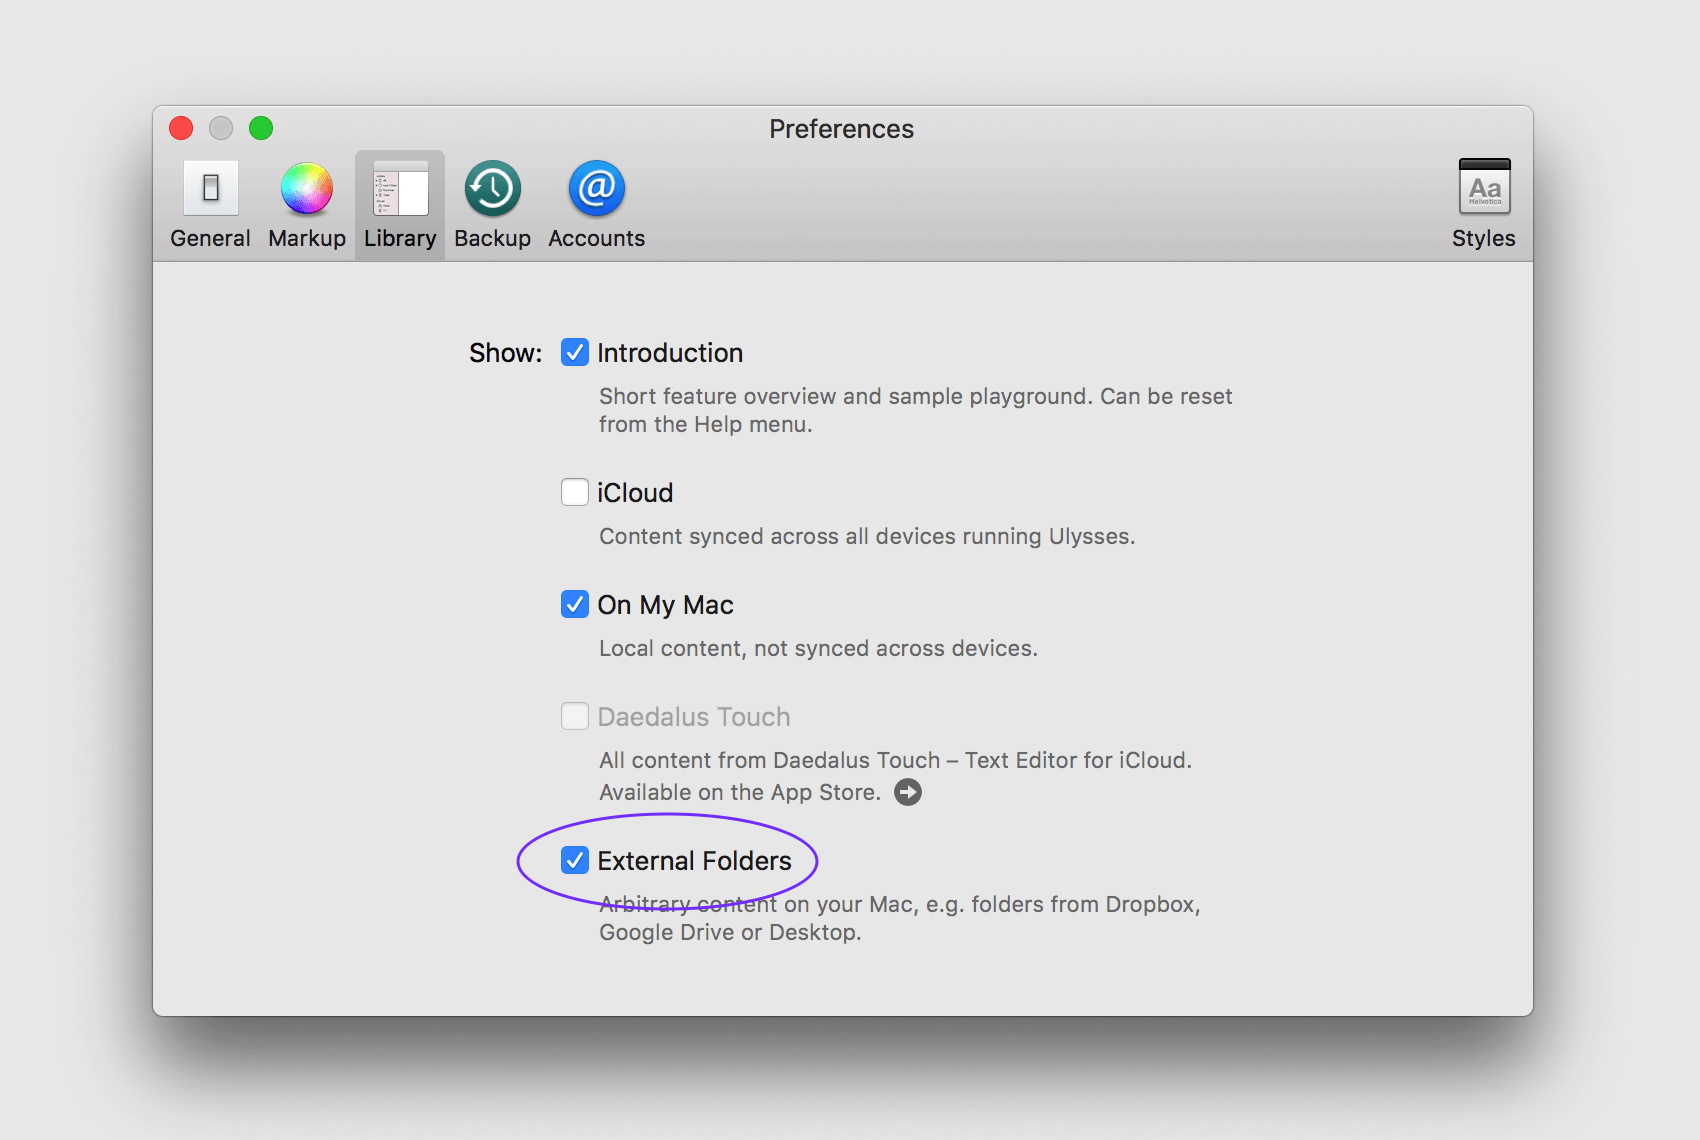
- Go to Ulysses’ preferences and make sure that the “External Folders” section of your library is enabled.
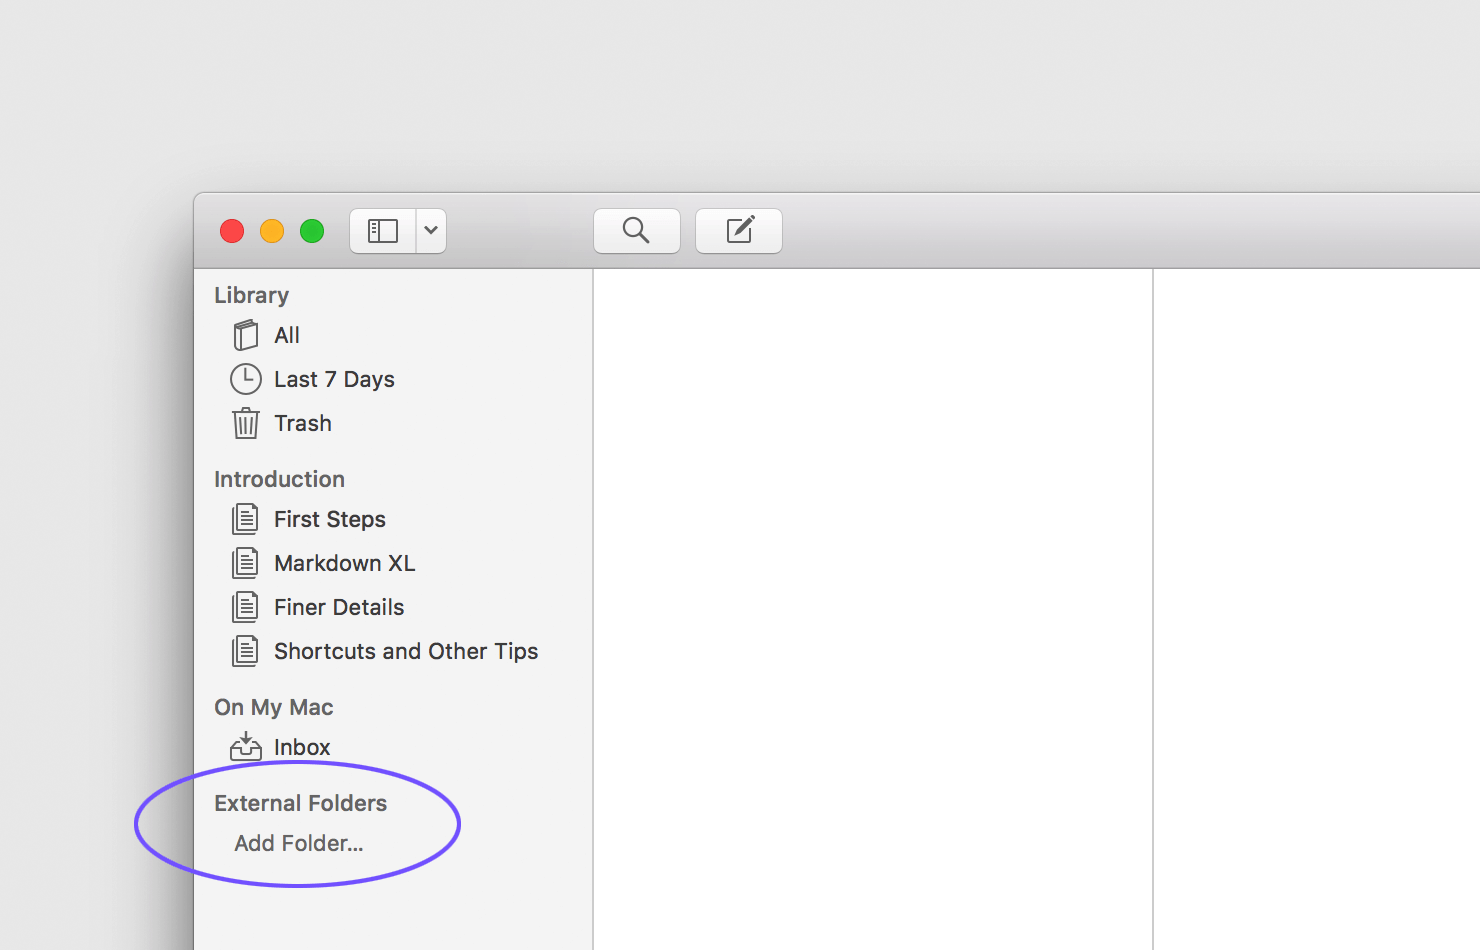
- In your Ulysses library, go to the respective section and add an external folder. You can either point Ulysses to an existing folder anywhere on your disk or create a new one.
- Set the proper link formatting for this folder. In the world of Markdown tools, there are two different standards for link formatting. Deckset requires so-called inline links (as opposed to reference links). Right-click on the folder, select “Edit…” from the context menu, and select “Save links as inline links”:
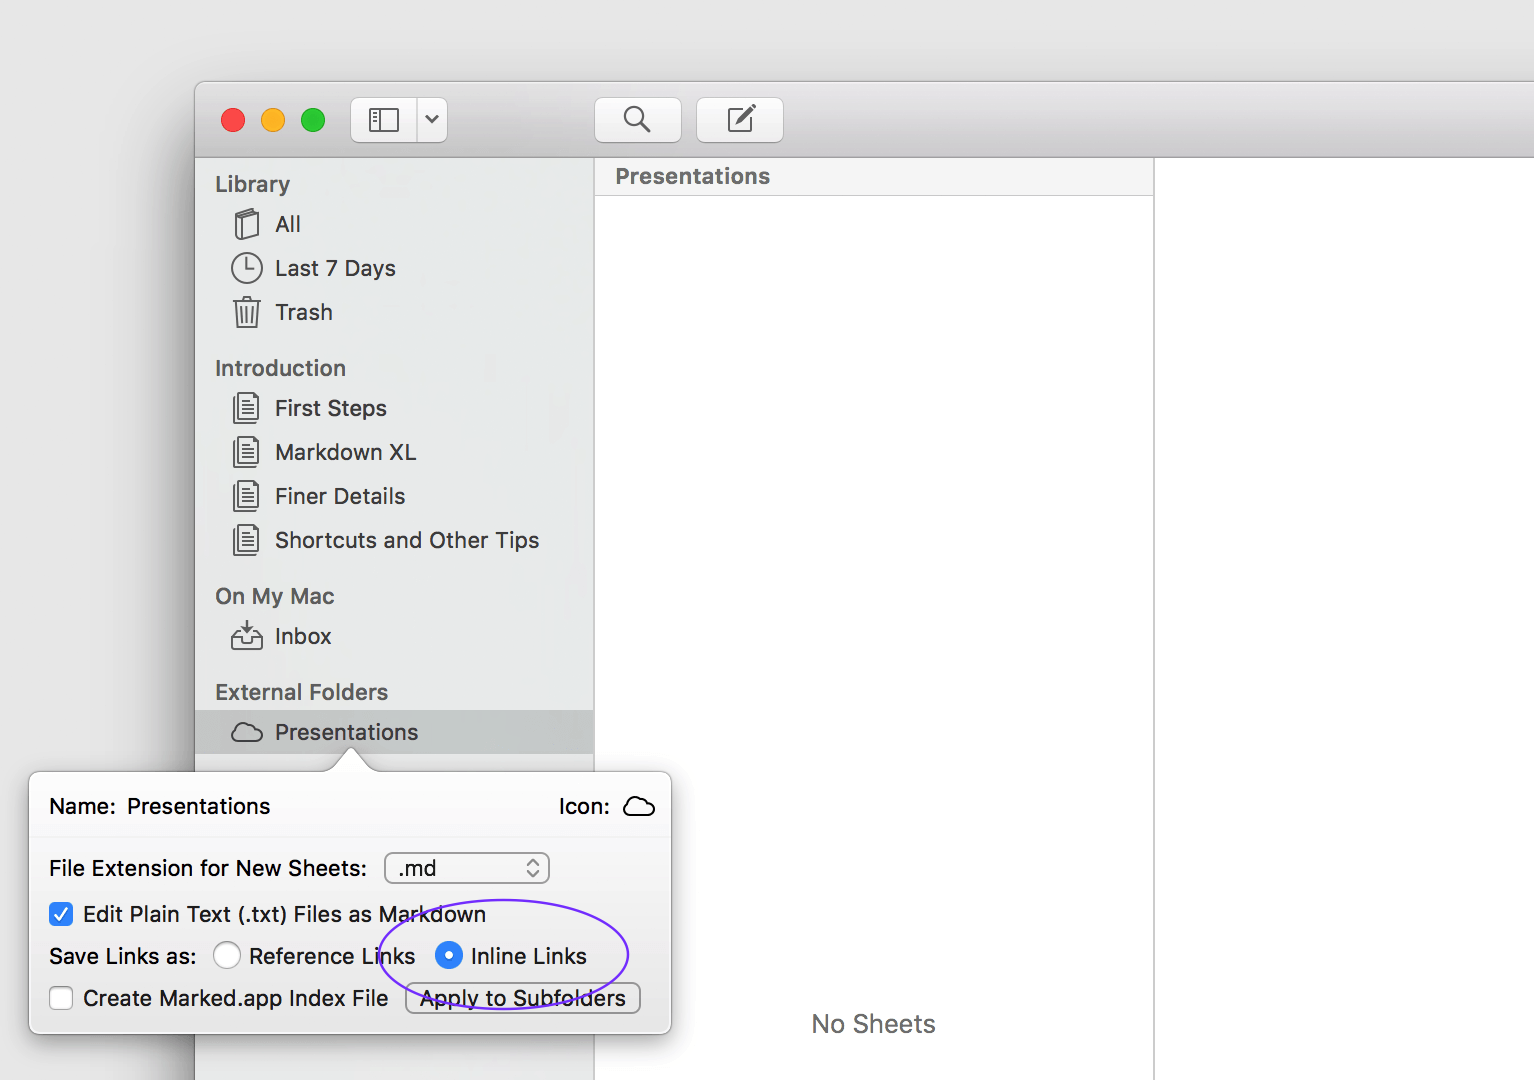
Attention: If you miss this step, Deckset will have problems to detect images and links in your presentation.
- Now open the folder, and create a new sheet for the text of your presentation. Ulysses will automatically generate a file name from the first line of text. (You can also specify a name using
@:).

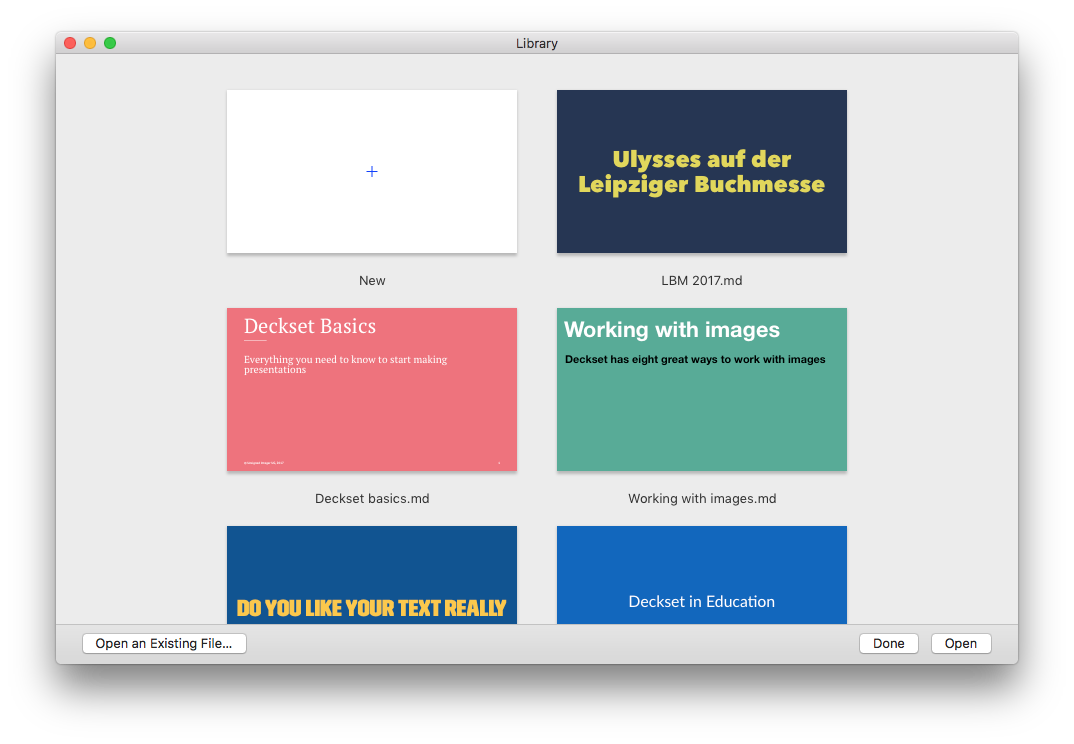
- Open Deckset, click “Open an Existing File…”, and select the sheet you just created with Ulysses from Finder.
Once you have written some text in Ulysses, it will show up in a preview of your presentation in Deckset. Usually it will take your text up to half a minute from input to showing up in the preview. If you want to see it instantly, hit the shortcut ⌘S (command-S) in Ulysses.
Use Deckset’s Live Preview
Especially when working on a small screen, you will appreciate Deckset’s handy preview feature. In Deckset, click the “Show Preview” button:

This will open a floating preview of your presentation. You can place it anywhere on your screen for reference, while you edit your presentation.

Create Your Presentation
Now you can set off to creating your presentation:
- Write headings, bold and italic text, nested lists and links just as you usually do with Ulysses.
- To start a new slide, use the divider tag
----(four dashes) and make sure to precede it with a blank line.
You can of course also use images with your presentation. As a Markdown file can’t contain images itself, you will have to reference them. To do so, follow these steps:
- Open Finder and place your images in the folder you created for your presentation.
- In Ulysses, type
(img)to add an image tag. - In the image popover, reference the image with its name (including filename extension) in the field “URL”:
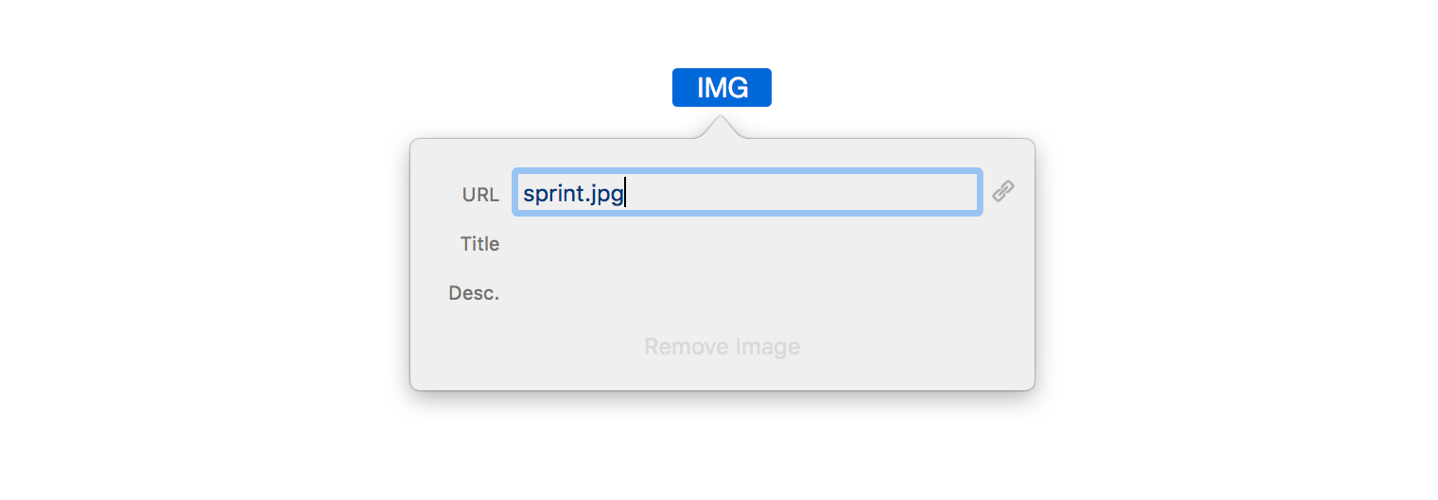
(If your image lives on the web, you can of course also enter its URL here.)
Themes for Any Occasion
Deckset comes with a number of different themes with handpicked fonts and colors for you to choose from. I opted for “Libre” for my presentation, but there are plenty of other options for any occasion.


Top-left in Deckset, click the “Themes” button to check them out and make your choice.
Advanced Layout Options
And that’s all you need to know to create a beautiful presentation from a couple of bullet points and images. Deckset, however, has more fancy stuff to offer. Here are a few examples of its advanced layout options.

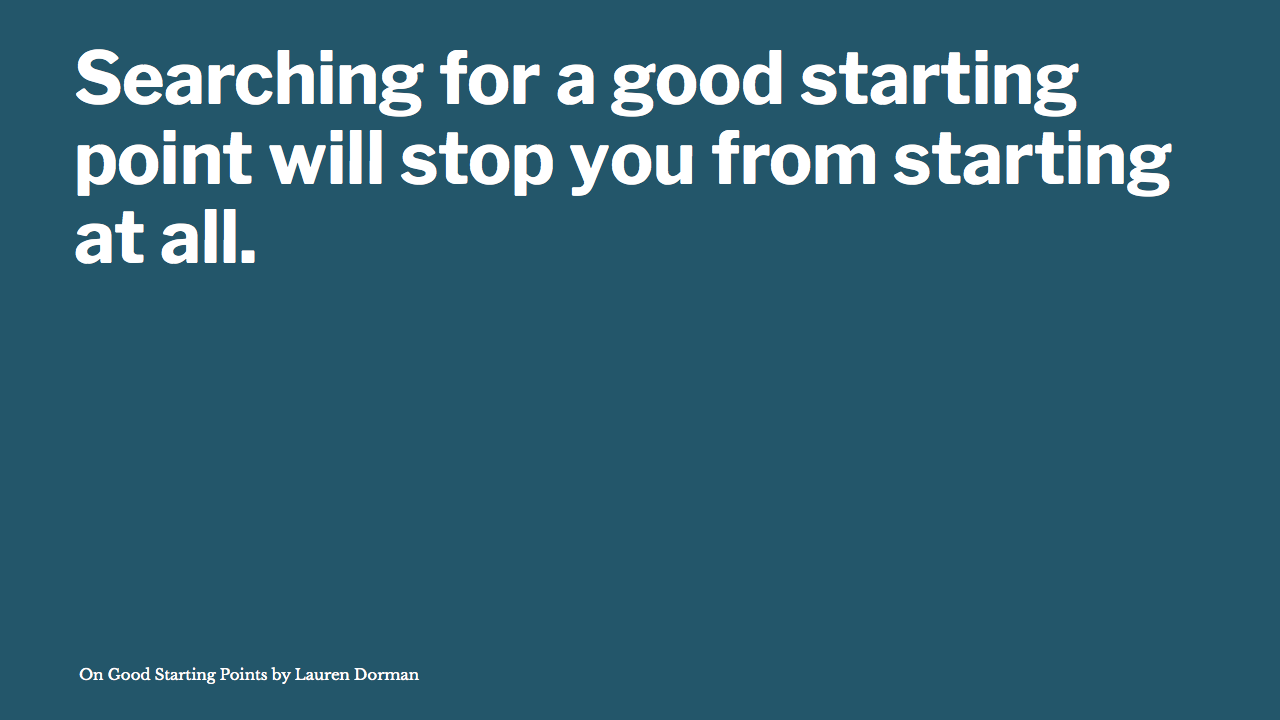
Text on image. This will apply a filter to the image to make the text more readable. Write the text under the image, and make sure to leave a blank line between both.

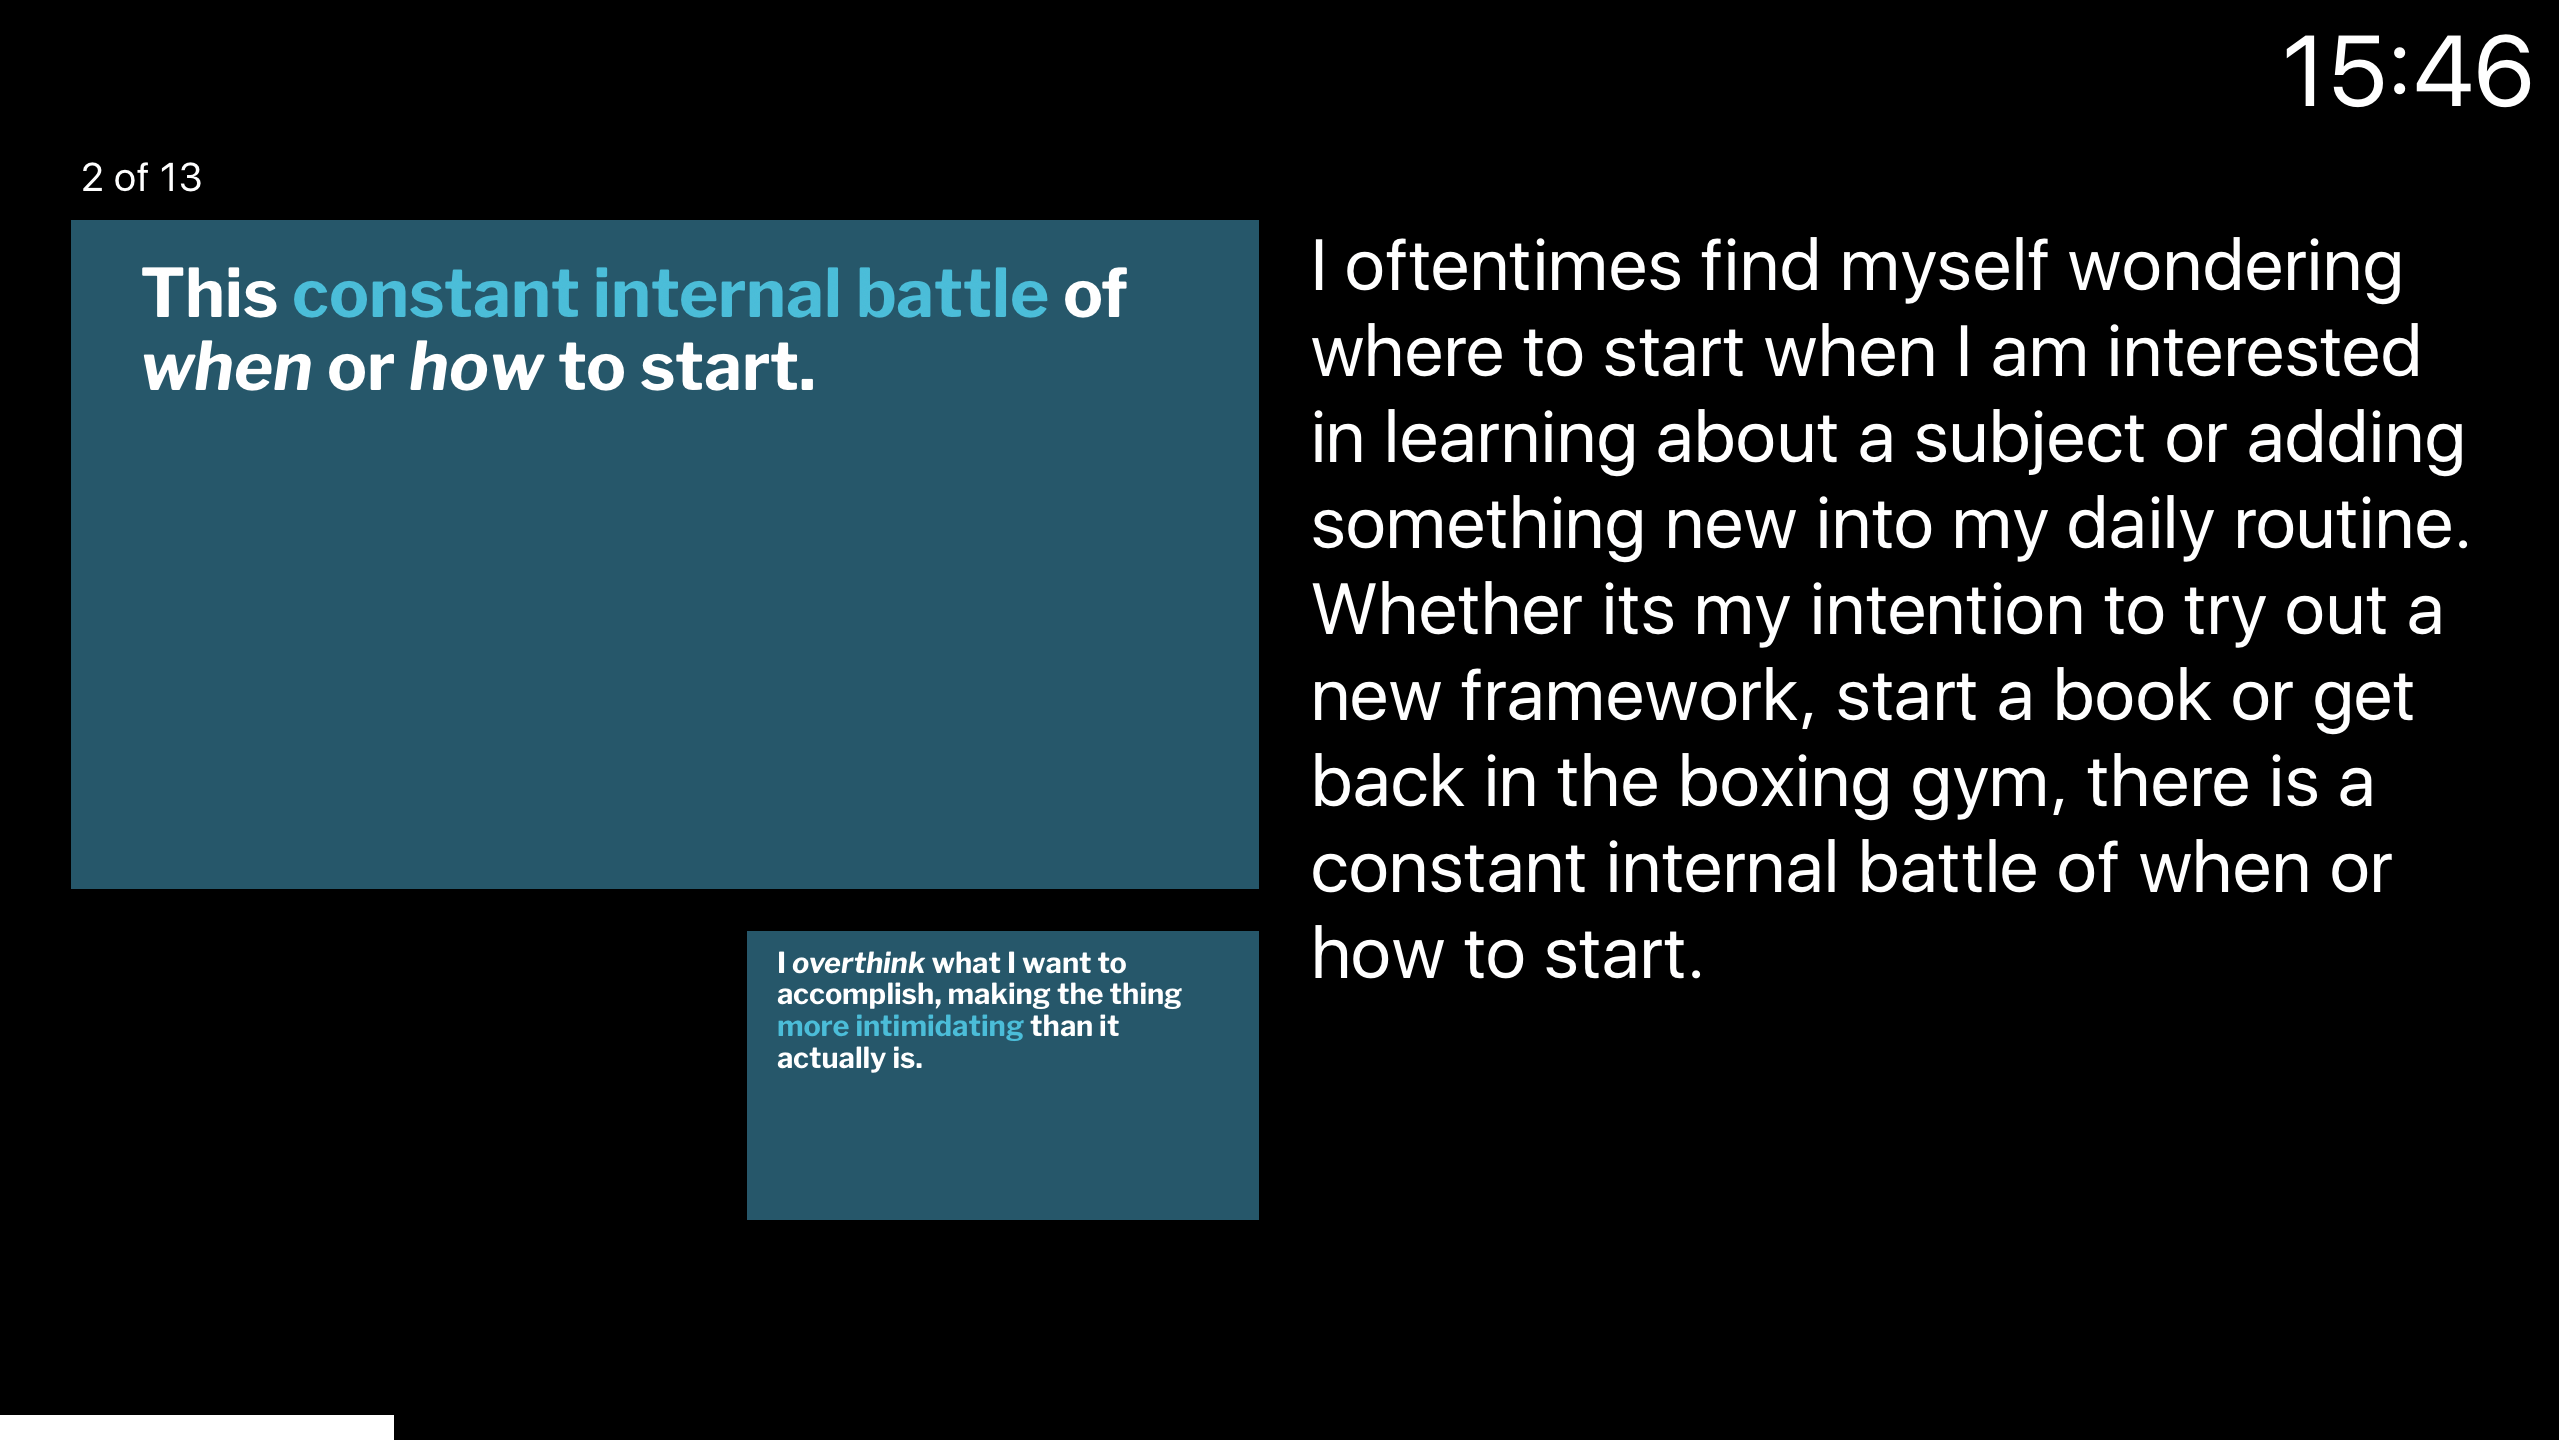
Split Slides. The modifiers left and right let you split a slide between image and text. Write the modifier in the field “Description” of Ulysses’ image popover.

Quote. Mark up a quote with >, its source with --.
Footers. To add a persistent footer to each slide of your presentation, insert the command footer: at the top of your file, followed by the text you want the footer to contain.
For further inspiration, visit Deckset’s Help & Support page.
Good to Know
Some of Deckset’s more advanced layout options require configuration commands enclosed in square brackets. In Ulysses, a square bracket will be automatically interpreted as a link. To prevent Ulysses from doing so, simply precede the square bracket with a back slash, like this:
[.build-lists: true]
The command in this example can be used to make the list on a specific slide appear one by one.
Finally: Present!
Deckset allows to add presenter notes to your slides. These notes will not appear on your slides, but on the presenter’s display (with two screens connected) or when using rehearsal mode. In Ulysses, just start a paragraph with ^ to treat it as a presenter note.
In Deckset, click the “Rehearse” button at the center top to show a preview of your presentation together with your presenter note.
And as soon as you’re ready, and your audience is listening, click “Play” top left — and wow them with a beautiful presentation.
Get Deckset
Deckset is available on the Mac App Store for $29.99. It is worth every cent, but together with the fine folks at Deckset we still want to give you the opportunity to get it for free. We raffle 5 licenses of Deckset. All you need to do: Retweet our tutorial on Twitter, or leave a comment on the respective Facebook post. The giveaway ends Wednesday, April 26. The winners will be announced on Friday, April 28.
Update April 28, 2017: The giveaway is closed, the winners have been chosen:
Russ Pierson
Carolyn Rampling
Sebastian Röder
Freerich Bäthge
HCGK
Congratulations!