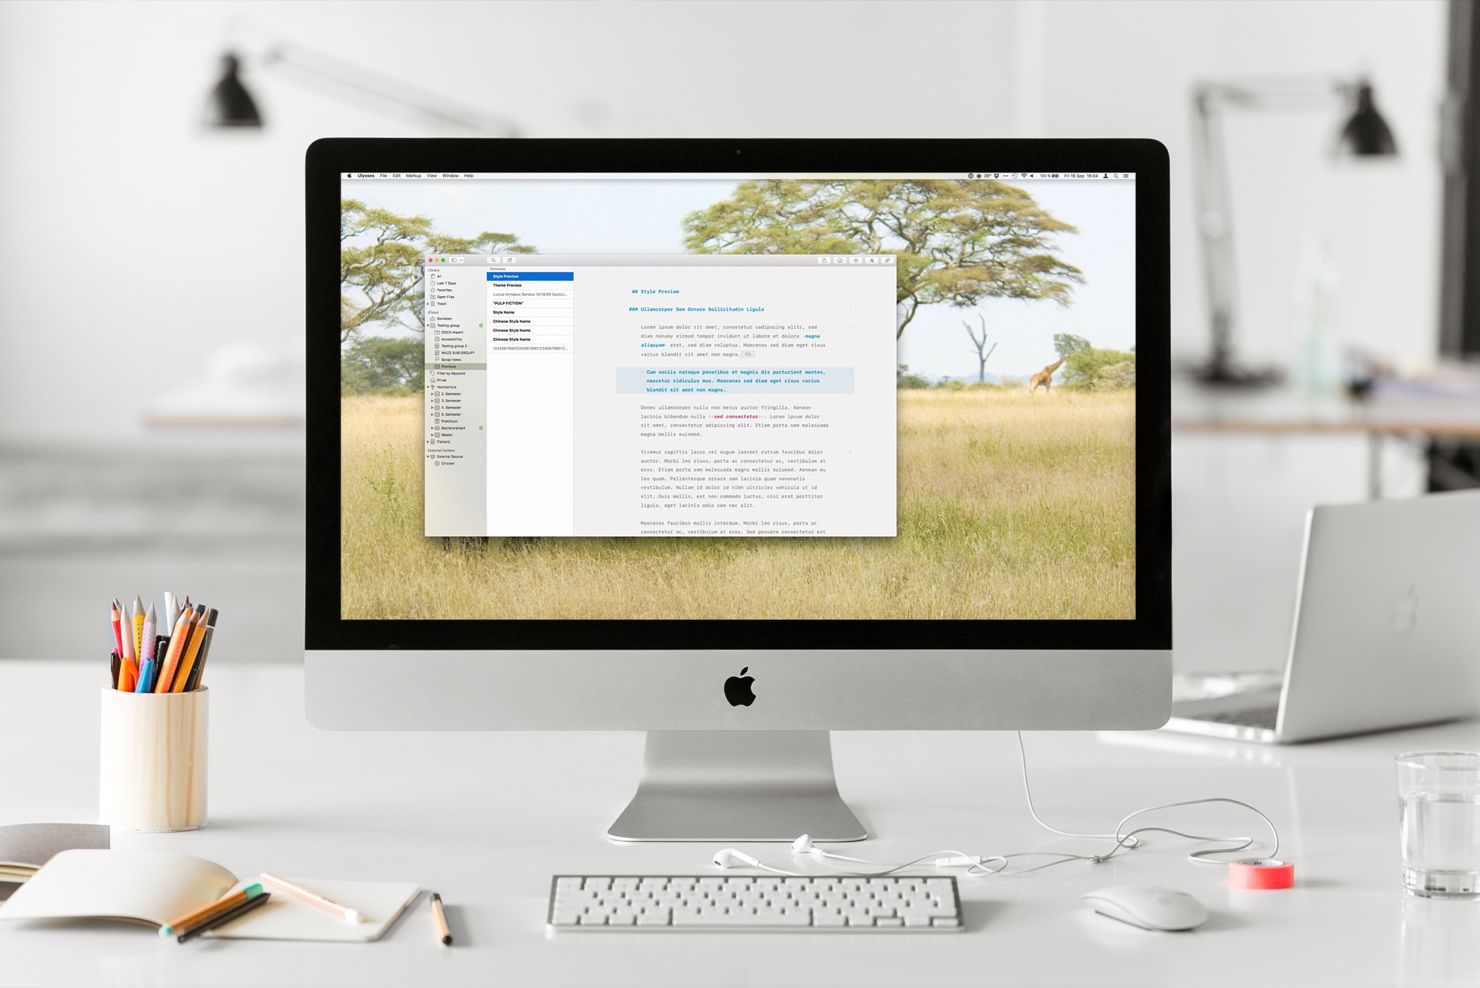
We’ve designed Ulysses to be the home of all your texts, no matter if they’re notes to self, white papers for your business, or blog posts. If you’re a busy writer, these can easily add up – and that’s why Ulysses offers a number of organizational features. Here are some tips to get your text library straight and keep track of your writing tasks.
1. Categorize into Groups (and Subgroups and Subsubgroups, etc.)
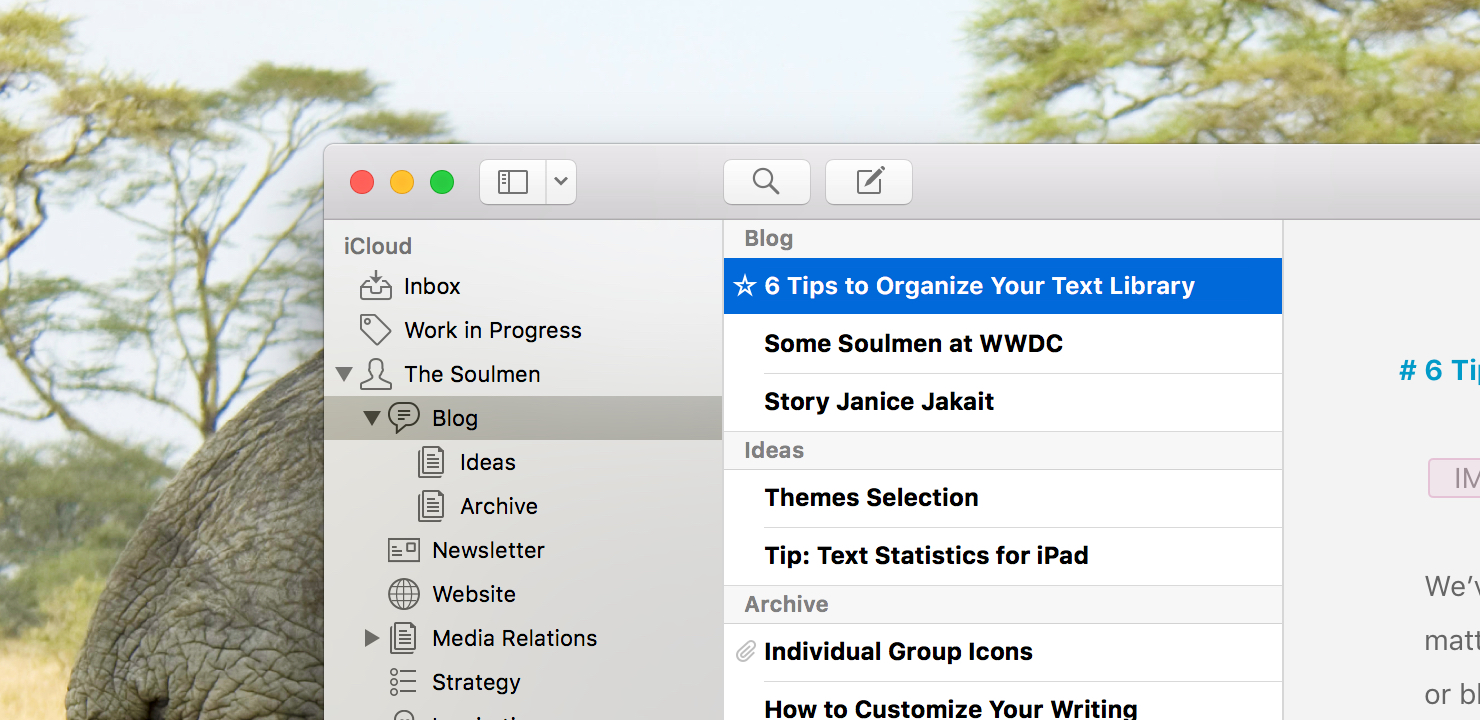
To add a group, move your cursor to your current library section (i.e. iCloud) and click the + icon. On iOS, tap the + icon at the bottom of the group list. Each group can have as many sheets as you want. If you select a group in the sidebar, you will get an overview of all its subgroups and sheets.
2. Filter for Keywords
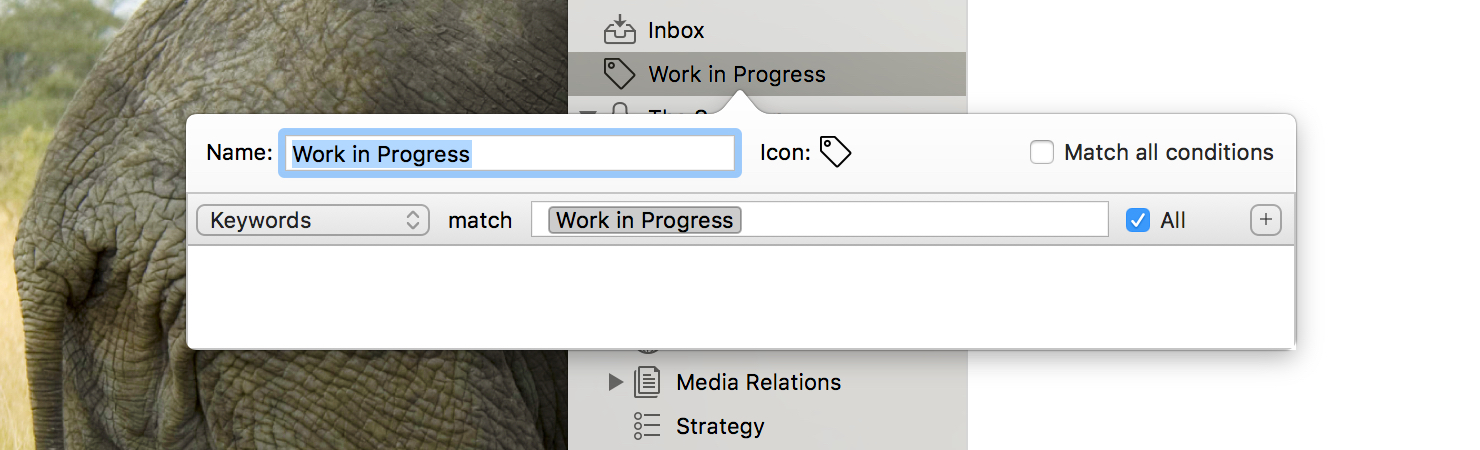
Save time on maintaining to-do lists! If you’re working on different projects at once, you can use keywords and filters to keep track of your tasks. Just think up a keyword indicating “Work in Progress” and add it to the respective sheets. (The keyword may consist of more than one word, so “Work in Progress” would work just fine.) With a dedicated filter you can then display all sheets with that very keyword.
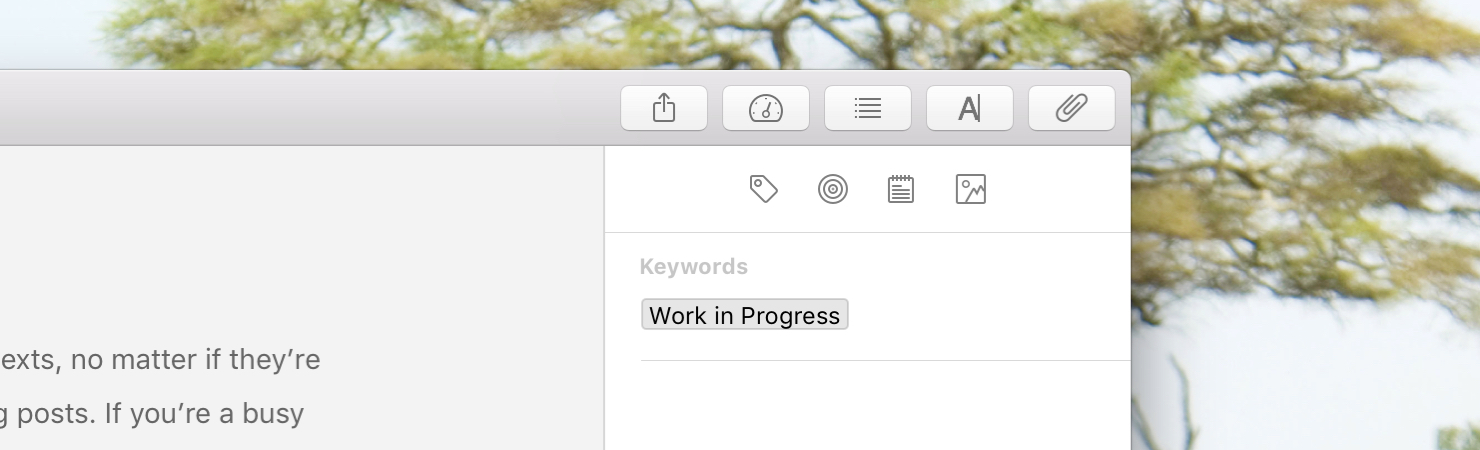
You can add keywords via a sheet’s attachment bar. Access it via the paperclip icon at the top right corner.

Adding a new filter works the same way as adding a new group. By the way: Searching for keywords is not the only thing filters are capable of – available filter criteria include text matches and change/modification dates.
3. Favor Frequently Used Sheets
If you want to spare yourself assigning keywords and setting up filters, you can also use Favorites to mark sheets you’re currently working on. Or you make use of Favorites for texts you need to refer to time and again; a snippet describing a client’s product, for example.
On Mac, switch to the sheet list, right-click on a sheet and select “Add to Favorites” from the context menu to do just that.


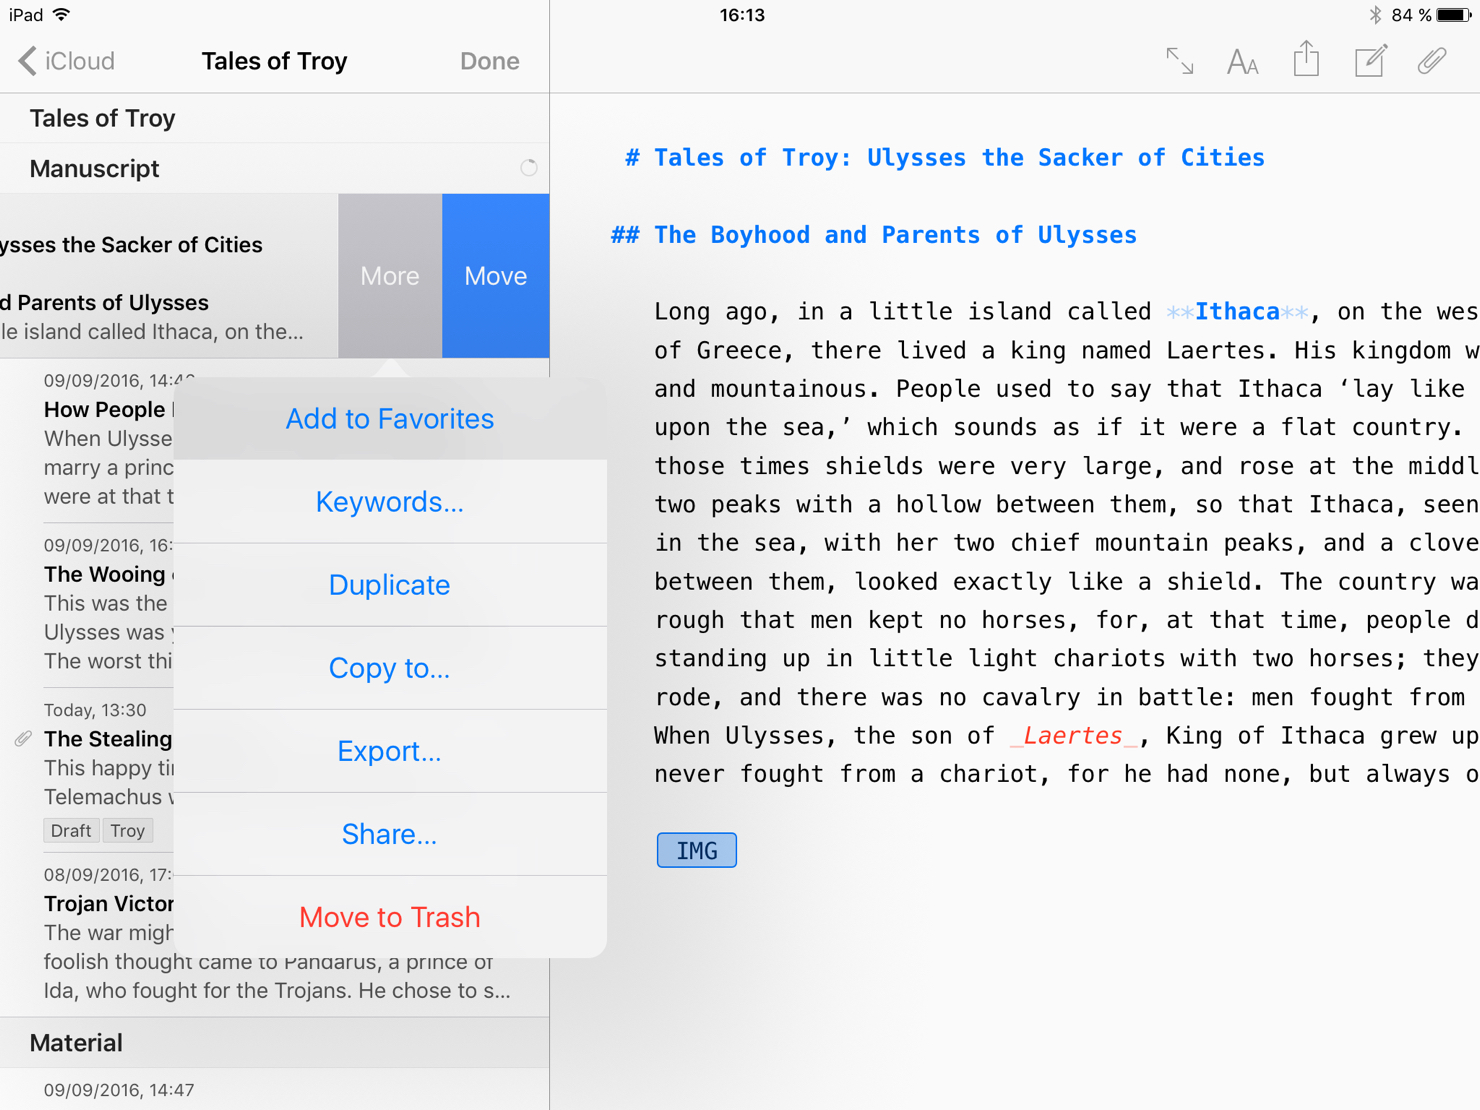
On iOS, go to the sheet list and swipe left on the sheet in question. Then tap “More › Add to Favorites”.
4. Sort Your Sheets (and Your Groups, too)
You can choose whether to sort your sheets according to change date, modification date, title, or manually. Manual sorting lets you easily arrange the chapters of a novel or several parts of a complex strategy document, for example.

You can change your sheet sorting in the sheet list, next to the group name. On iOS, the sheet list features a Sort button bottom left.
Of course you can also re-arrange the groups and filters you set up in step 1 and 2. On Mac, just drag and drop. On iOS, tap Edit at the bottom of the group list and start sorting.
5. Hide the Sections You Don’t Need
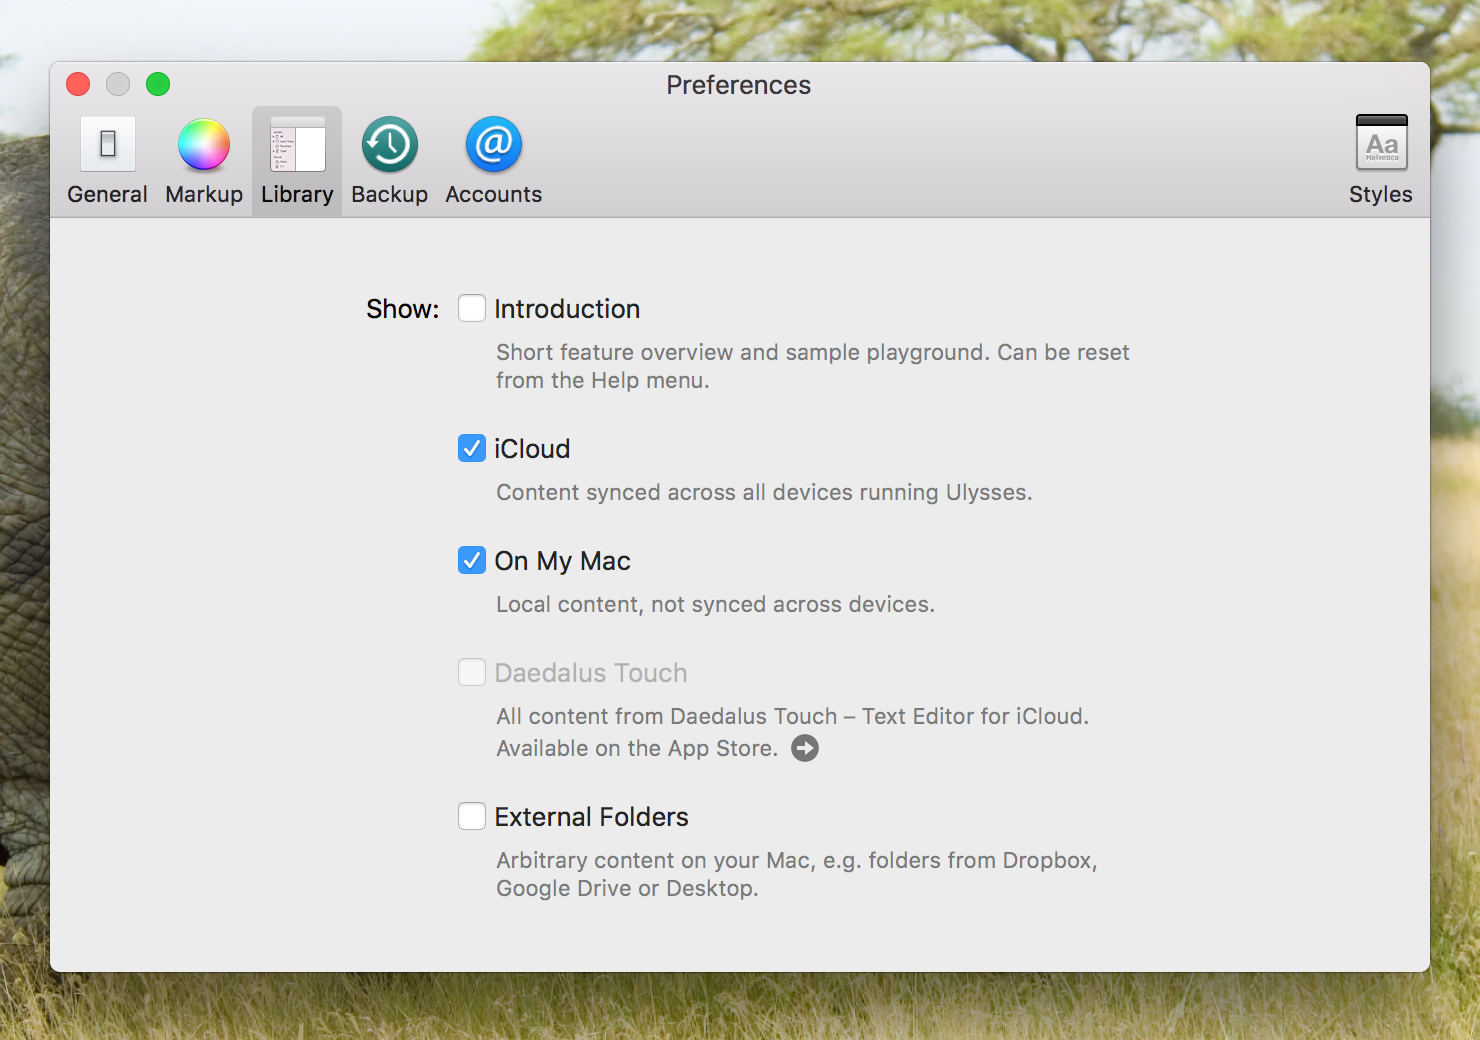
This is a tip for Mac users: Your library has several sections, but you can choose to show only those you actually use. This is probably iCloud, if you’re editing your texts on more than one Mac and/or on an additional iPad or iPhone – or On My Mac, if you have switched iCloud off. As a beginner, it certainly makes sense to keep the introduction at reach, but later you may want hide it. You will find these options for the library setting in Ulysses’ preferences.
6. Don’t Bother, Just Write
And if you ever loose orientation? Use Quick Open! On Mac, hit ⌘O (command-O), on iPad or iPhone tap Quick Open top right. You get a list of your recently used sheets, and you can search for whatever you might remember. Just tap to open – and write on. It’s as simple as that.

This post was first published on June 12, 2015. It was revised and updated for the current version.